Centerbeam Lumber Car Construction - Part 2
Click on photos to
Enlarge
|
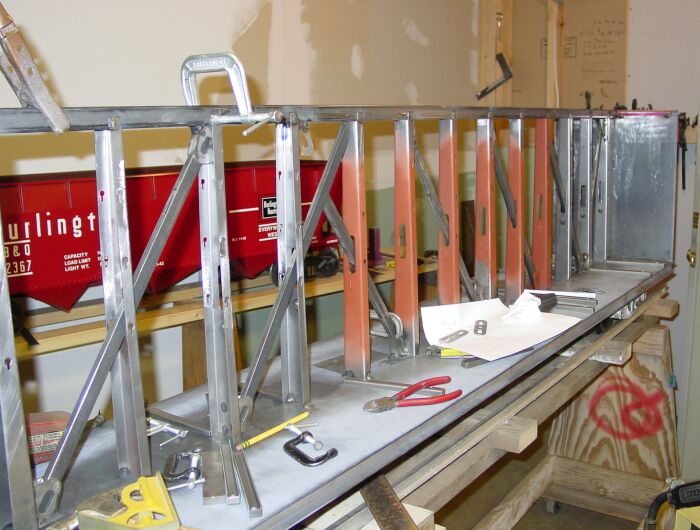
Welding
of vertical posts is almost complete at this point. I put primer
on some of the vertical post, as they will be hard to paint later
on.
|
 |
|
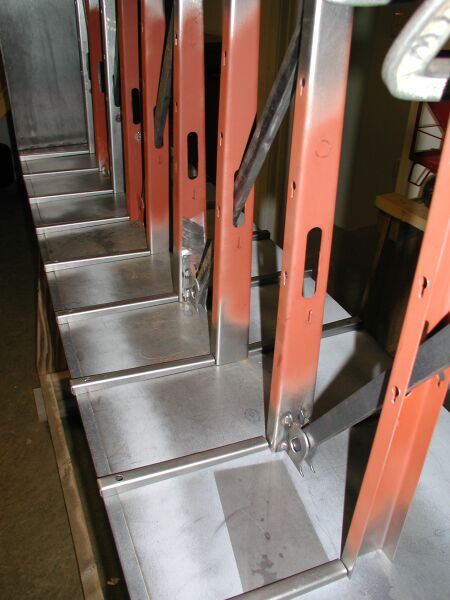
Looking
down the length of the car. It is important to
keep everything in alignment. |
 |
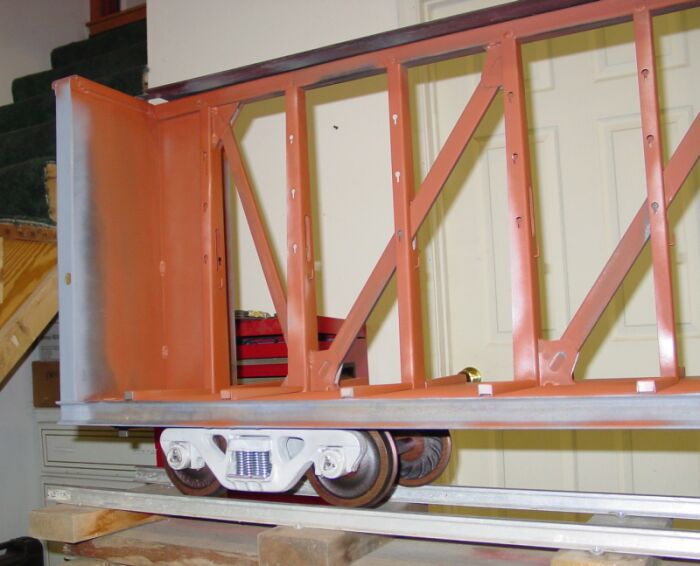 |
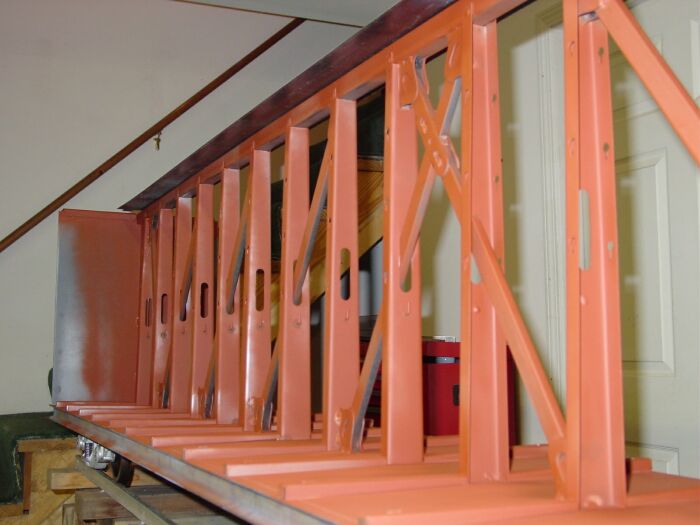
This view shows the end of the car bracing configuration. In my research of this type of car I found all kinds of variations on the end bracing. Some are completely open while other have the solid sheets of steel running for the first two or three vertical posts. |
|
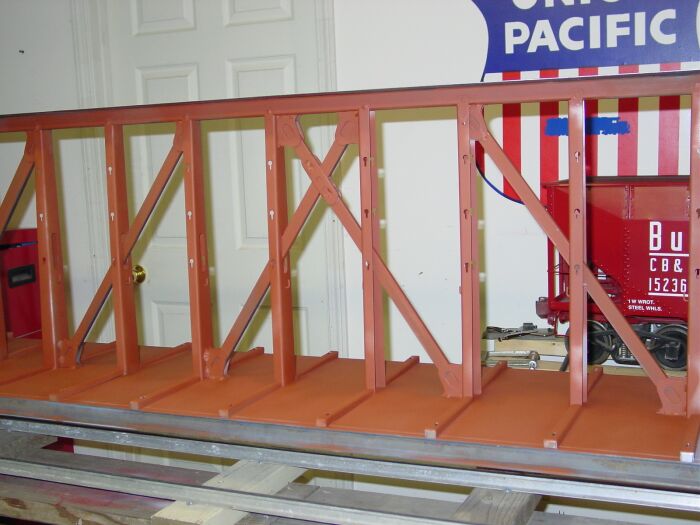
The
bracing is finally completed with the welding of the braces that
form the X in the middle. Very careful layout and continuous measuring
were required to make all these parts come together as planned.
|
 |
 |
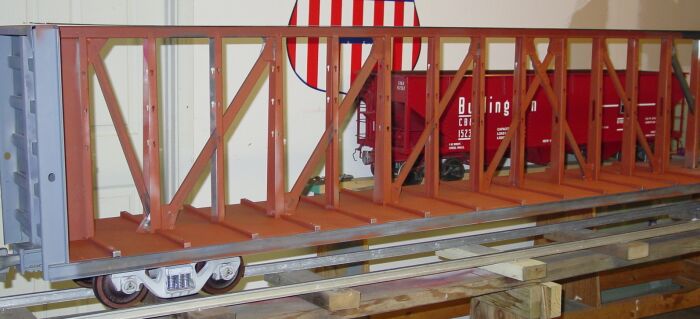
Looking down the length of the car. More details will be added. There will be working winches on the outside and a partial roof structure. When the car is complete I will add all the tie-down cables and decals. |
|
This
car is modeled after the 72’ Thrall Center Beam car. The actual
size of the model turned out to be a little over 9’ long. This
is a big car. If you are going to build a fleet of these babies
make sure you have lots of room in your storage barn.
|
 |