Cylindrical Grain
Car Project Update - Part 3
click
on images for larger view
Water seems to be
passing under the bridge very fast these days,
so sorry for the delay on the progress of the hopper article.
You may be wondering
what part of the car could that be. I need a way
to attach an angle on the side of the curved surface of the car.
 |
Rather difficult and
important is this attachment. Mistakes will show up in the top walkway
not being straight and will distract from the craftsmanship of the car.
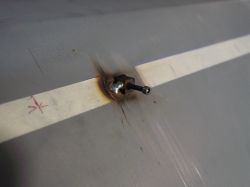 |
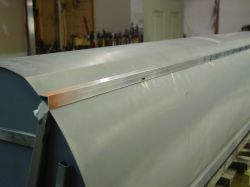
The solution was to cut holes in the sides and run square bars crossways. The photo above shows the welded part and the photo below shows aluminum angle attached to the side of the car.
 |
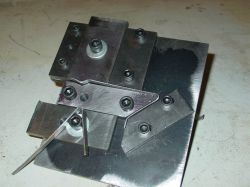
The next phase was to bend the 48 walkway support braces required. The photo below shows a custom bending die for the purpose of making identical parts. Power for the operation of this die came from a large ball peen hammer.
 |
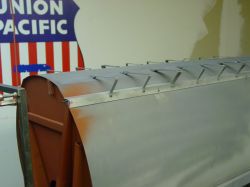
Here are the the new braces installed on the top of the car.
The final walkway will be attached to these braces.
 |
Here is a die made
to bend the tapered and angled end support ribs. There are two ribs of
different sizes and left-hand and right-hand versions have to be made.
Also note in the attachment, no welds are visible on the outside of the
car. A separate die was made for each size rib.
 |
Jumping back up to the top... The round support rings for the hopper lids had to be made from scratch. Through a drafting process of extending lines and circles, I came out with a flat pattern. The pattern was transferred to 18ga. steel. The steel was then rolled into a circle. Secret for welding ends together: I turned a piece of steel the inside diameter and used a stainless steel hose clamp to compress the steel to the pattern. Weld the ends and grind off the excess.
The hopper lids were made from a die that I turned on the lathe and pressed
round blanks in to lids.. Only about 20 tons are needed for using .035
materials.
 |
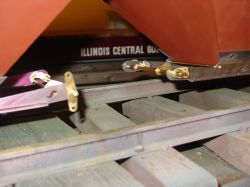
Jumping to the bottom of the car: In purple you can see the hopper discharge gate
 |
Here's some of the hardware to be installed in the hopper gates . There are several parts to be made yet.
 |
Here I am in thinking mode... 'What in the heck do I start on next and
how am I going to do it?'
 |
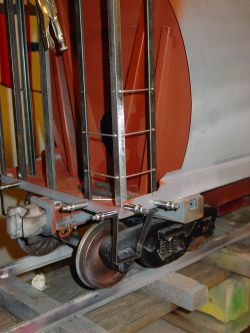
Here you can see the ladder
and end construction.
 |
Stay tuned for more details on the lid latches and hopper discharge gates.