|
A Precision Steel
Car Flat Car with the "Wright" Touch
click
on images for larger view
Page <<
[1] [2] [3] [4]
>>
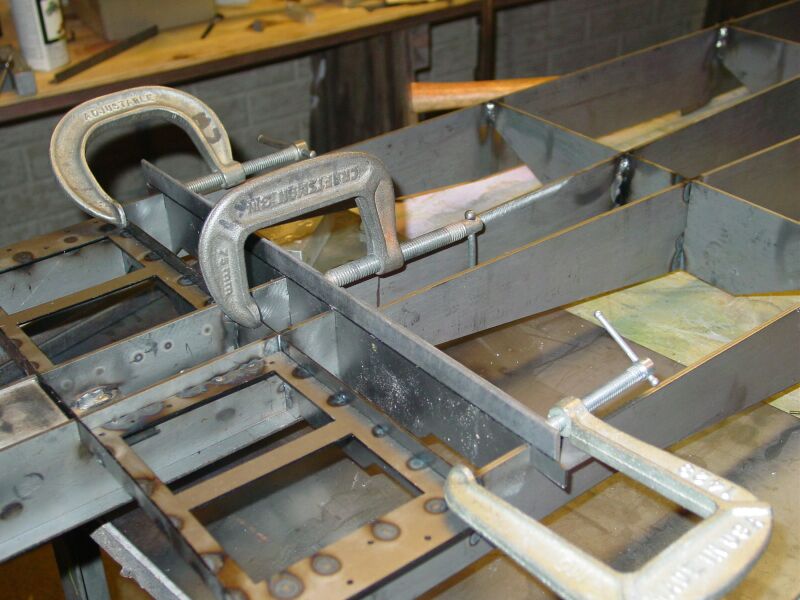
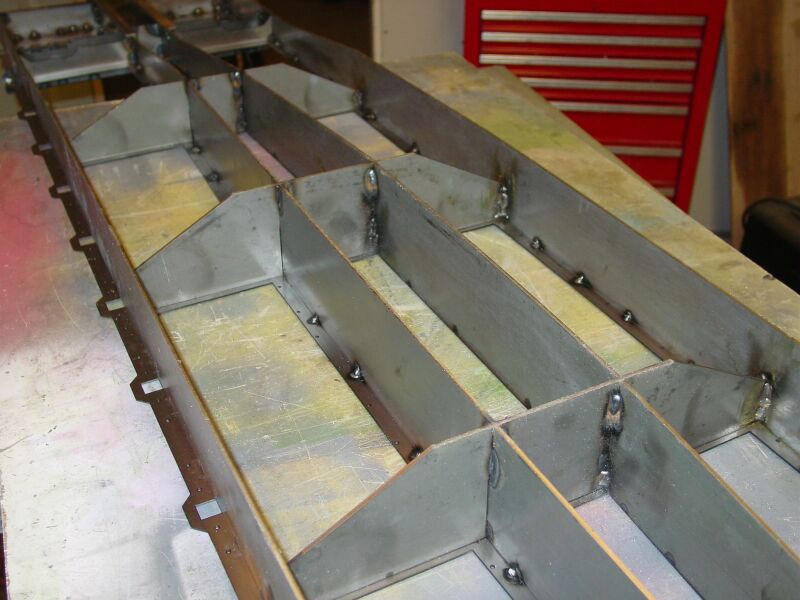
Time to install bolster
frame 2. I put that in place and backed it up with a piece of angle
to keep it straight horizontal and vertical.
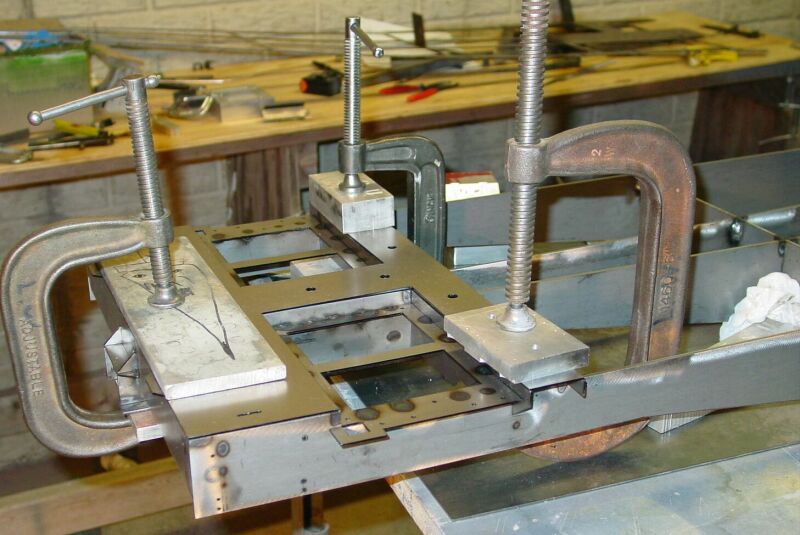
Now if everything
went correctly, the part called TOP SHEET should fit exactly on the top
of each end. Make sure this piece is clamped in place good. I started
welding in the middle. I made two or three welds and then sprayed water
on the area to cool it, dryed the area and continued around the outside
edges. I just made small tack welds. Any other heat sinks would be welcome
at this point.
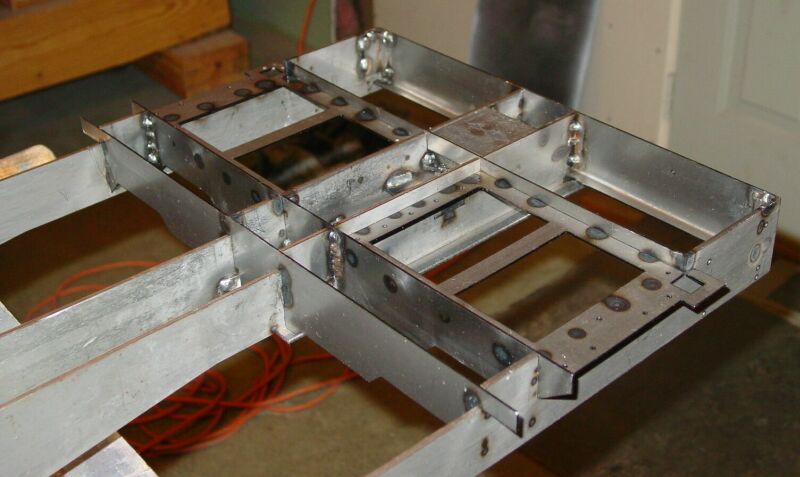
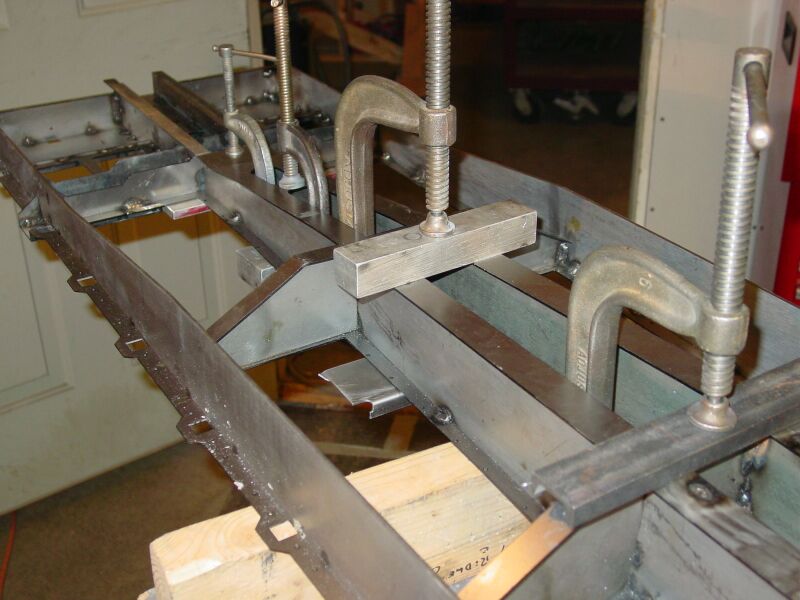
I have really got
the steps mixed up now. I lined up the LARGE DECK FRAME. Check it closely
on sides and ends. It may need a little filing if your car is not completely
square.
Again I started in the middle clamping and welding both directions letting
the welds cool or spraying them with water. I spaced the welds about 2
to 3 inches apart and kept them as small as possible. The frame is 18
gauge, you will bend the heck out of it before you pull one of these tack
welds off. So, DON’T USE BIG WELDS. A big weld is ¼”
long.
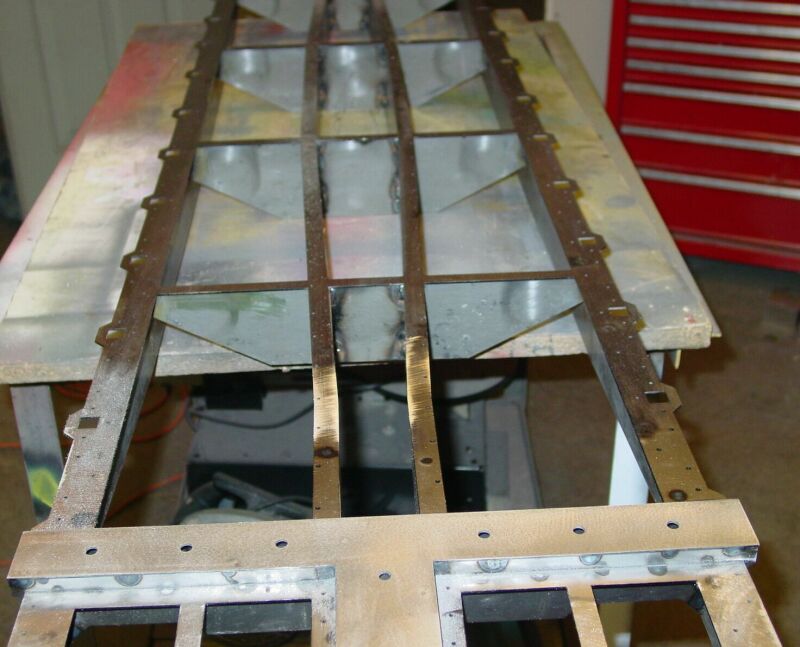
The bottom frame plate
is next. I cut the ends off so it would end at my new bottom angles. I
then put a small bend in near the end so I wouldn’t have to pull
it down hard to make that bottom curve. Bending the horizontal flanges
is relatively easy if you have a brake. They are all the same distance
from the middle so you can bend all four legs at the same time.
Again I started at
the middle. Most of the welds I put on the inside of the frame. Just let
your stinger stick out about an inch or so. The stinger is the welding
wire; not what you are thinking. Get your mind back on building railroad
cars!!
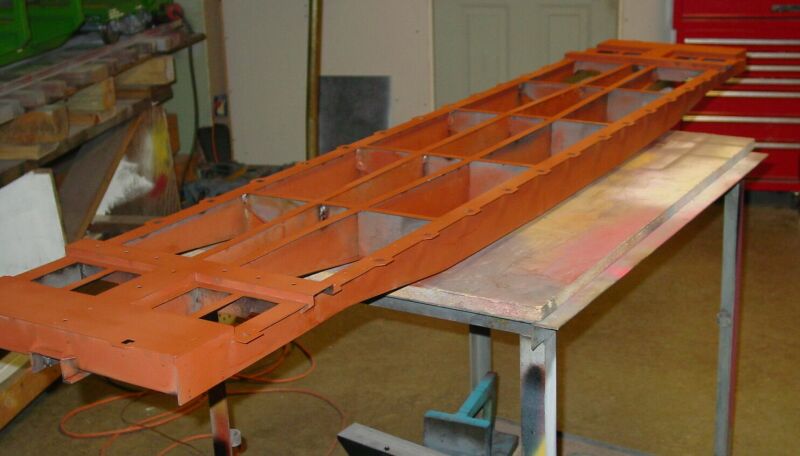
Okay, here is a picture
of the car all done and primed. Well, not quite. That is just the top
view to keep you entertained. Lets turn it over and have a look. Seems
to be some work on the bolster that needs to be done.
Page <<
[1] [2] [3] [4]
>>
|