|
A Precision Steel
Car Flat Car with the "Wright" Touch
click
on images for larger view
Page <<
[1] [2] [3]
[4]
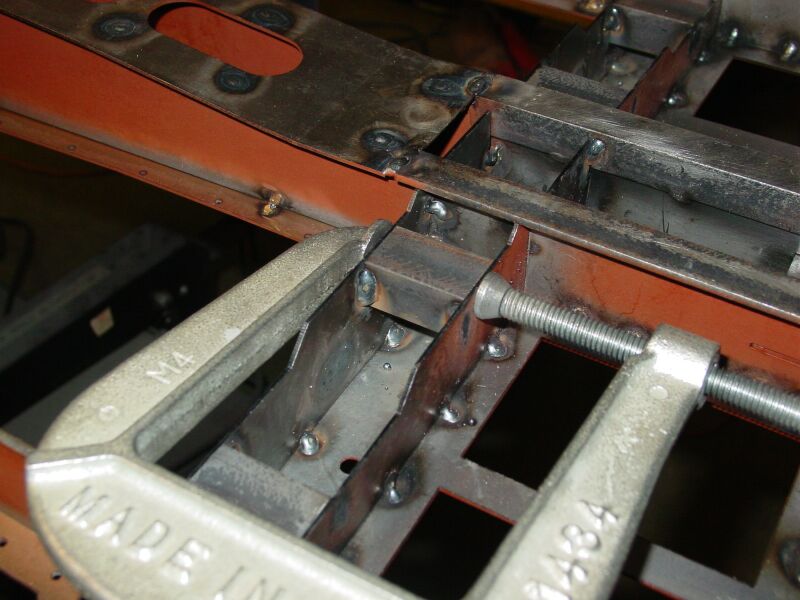
I cut some 5/8”x5/8”x
1-1/4” long angle to fit between the bolsters to replace the parts
in Step 9-B of the instructions. Cut two pieces for each bolster side.
Place one near the edge of the center frame and one near the outside level
with the thin part of the bolster parts Weld on as per picture. These
will become the part that you will attach the bolster covers to.
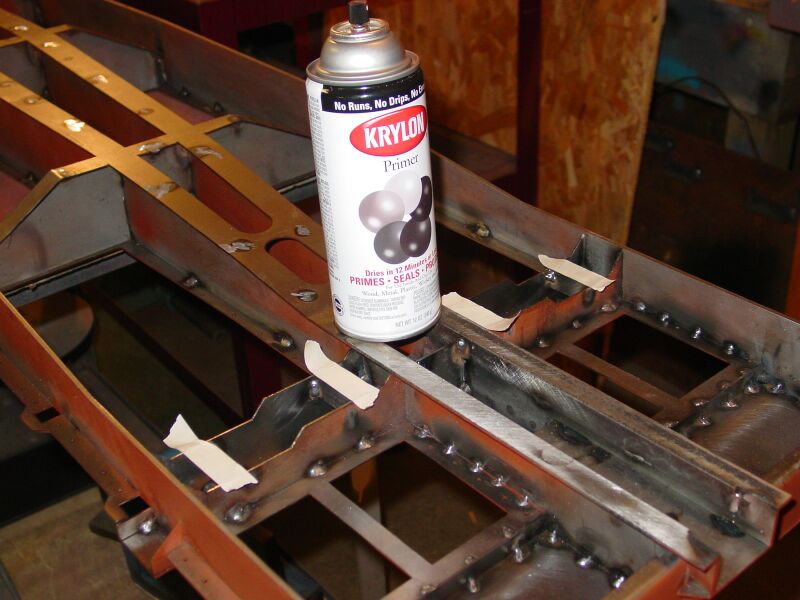
Note: I primed the
inside of the bolster before welding the cover on. The masking tape
will leave clean spots for some welds.
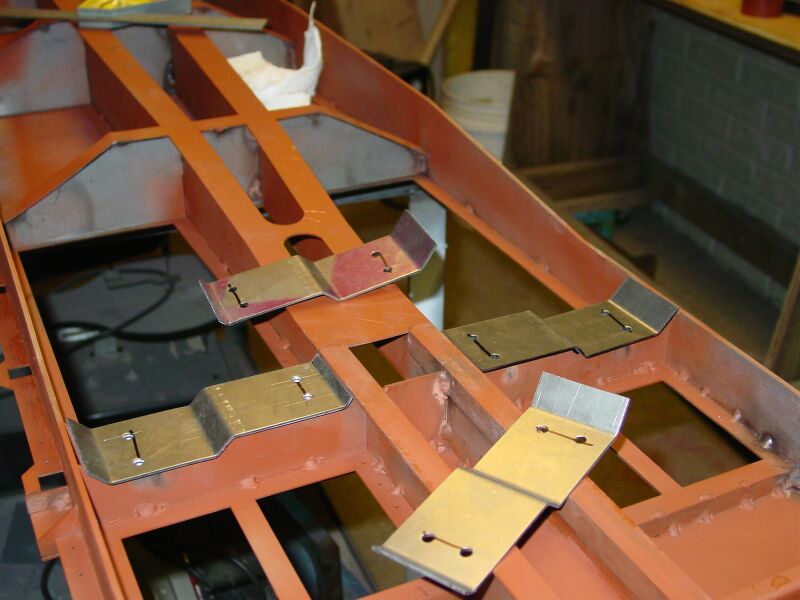
Bend up 4 bolster
covers and drill or punch 4 holes that you can use to plug weld the covers
on to the angles you just welded on. All the angles are 45 degrees no
big deal.
You may have to bend an extra one or two if they don’t fit right.
I made a pattern and went by that.
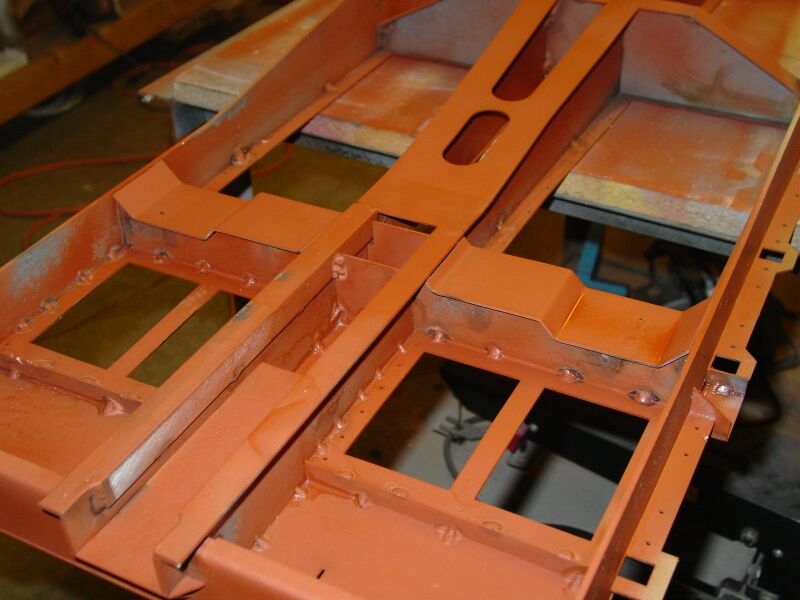
Note that I primed
the insides of the bolster and center plate before welding the covers
on. Left unpainted the parts will rust through in a few years being used
outside.
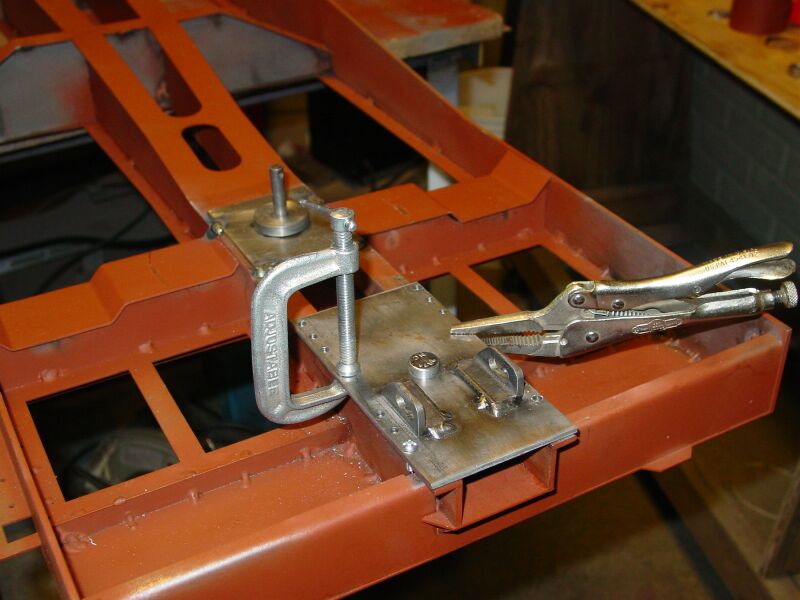
Next, comes the coupler
cover plates. I drilled the holes in the plate and then clamped the plate
to the car and drilled through the holes for good alignment. I then located
the pin and drilled a hole in the coupler pocket part. Step 1-A in the
instructions. The next step is to temporarily bolt the covers in place
and then insert the coupler pin into it’s hole and weld in place.
You will note my safety chain hook-er-oners.
See my article on safety chains
on this web site.
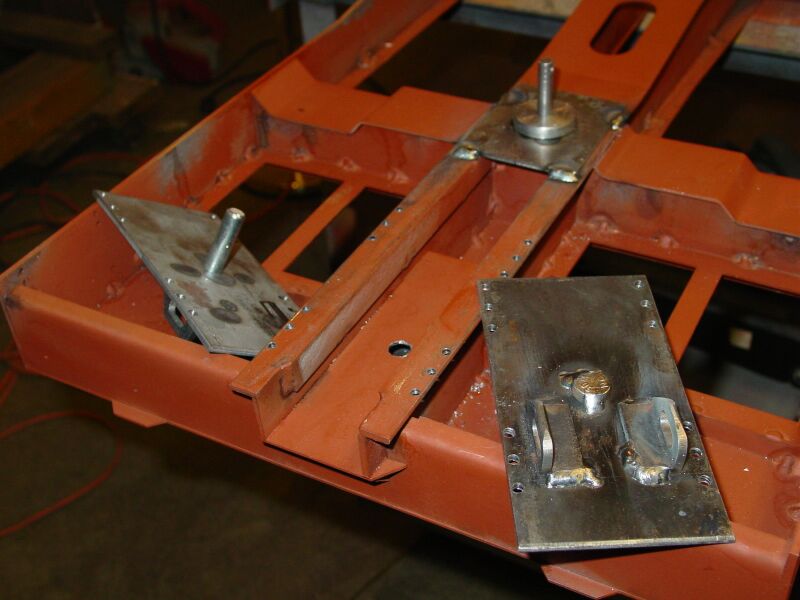
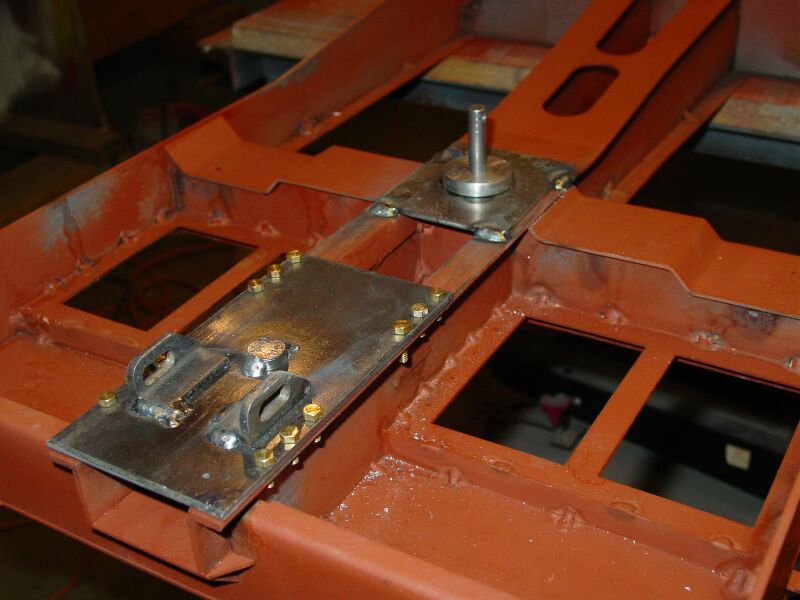
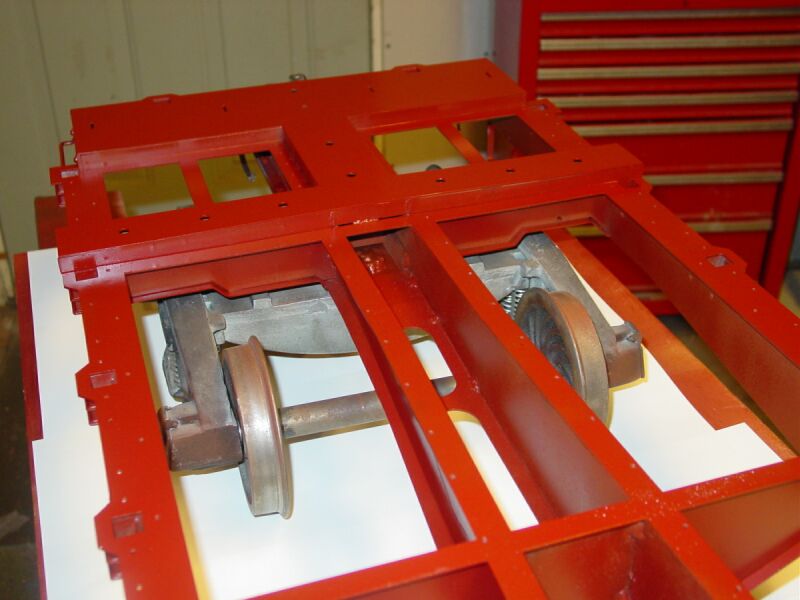
Somewhere along the
line I passed the part about where I welded the center pin on. The center
hub is 1-1/4” in diameter with a 5/16” center pin. The car will
just set on the trucks - I don’t use bolts and such. One of the things
I did to standardize construction was to use this simple system.
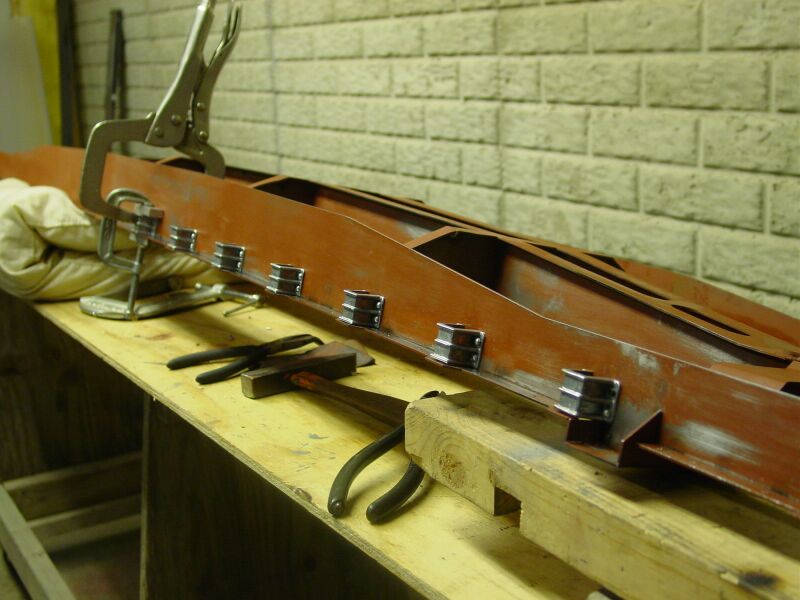
Time to add some details.
Here is a shot of stake pocket castings being riveted onto the car sides.
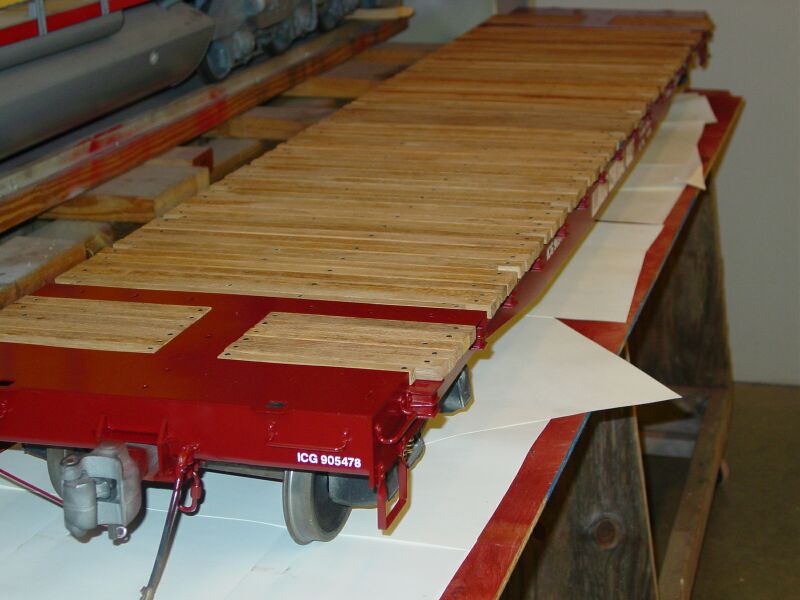
The car was painted
with a custom oxide red lacquer. Here's a top view of the painted car
end.
Time to install the planks.
In summary, this is
a solid quality kit at a very reasonabe price. You will save loads of
time by having these parts already cut out. The parts fit together exceptionally
well which make the assembly practically painless as all of the engineering
has already been done for you.
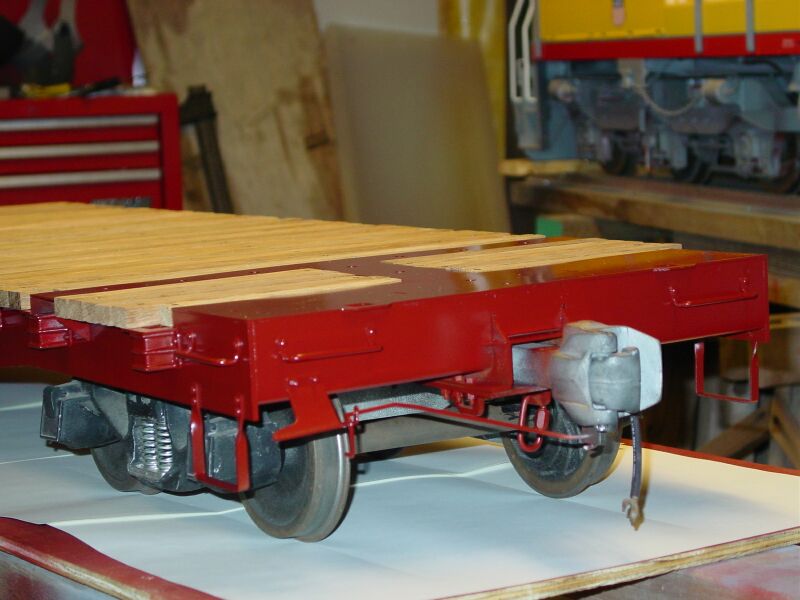
Here are some pictures
of the finished car with the remaining details. The vinyl graphics were
purchased from from Miracle
Railroad Products.
If you'd like to
build one of these quality kits, please visit the PSC site below for ordering
information.
www.precisionsteelcar.com
Page <<
[1] [2] [3]
[4]
Back
to Articles Menu
|